Today we’re going to learn how to dockerize a rails application.
What is Docker ?
Docker helps in packaging our application and its dependencies together. Docker does that by creating containers.
Ok and what’s Container ?
A container is an executable which holds: our code, runtime dependencies, system libraries and settings. This allows us to run our container on any platform without worrying about setting it up from scratch everytime.
Well Why are we even Dockerizing ?
Dockerizing any application helps us with:
- No need to worry about our application’s dependencies each time we’ve to setup our application on a new server.
- Can run our application on any environment once we’ve built it with docker.
- Makes scaling a piece of cake. With dockerized application we can easily spawn up new instances of our application.
- Dockerized applications has less overhead than VMs.
Getting familiar with Docker world
There few important things we need to know at minimum to dockerize our applications, so let’s look at them first:
- Image - is a file that contains the code, dependencies, system libraries and other files needed to run our dockerized application or in docker world, a container. It serves as a template for a container.
- Container - is a running instance of an image. Containers have state which can be changed. We can imagine it as a running application.
- Dockerfile - is a text-based file where we can write instructions for building Docker Images.
Ok now that we’ve some idea about Docker let’s dockerize our Rails app.
Dockerizing our Rails app
Lets create a new Rails app:
rails new docker-rails --api --skip-test
Create a file named Dockerfile inside the docker-rails folder. Dockerfile will be used to create the docker image:
cd docker-rails
touch Dockerfile
Go ahead and add following lines to the Dockerfile:
FROM ruby:2.7.5

WORKDIR /app
COPY . .

RUN bundle install --no-binstubs --jobs $(nproc) --retry 3

RUN rm -f tmp/pids/server.pid
EXPOSE 3000
CMD ["rails", "server", "-b", "0.0.0.0"]
All set. Time to build a Docker image
docker build -t ashishp91/docker-rails .
The docker build command builds an image using the Dockerfile.
-t ashishp91/docker-rails specifies tag for the image. We’ll use this tag to run the container next:
docker run -p 3000:3000 -it ashishp91/docker-rails
The docker run command starts a container using the image with tag ashishp91/docker-rails.
-p 3000:300 maps the host’s port 3000 to the container’s 3000 port. This routes any request received on host’s 3000 port to container’s 3000 port.
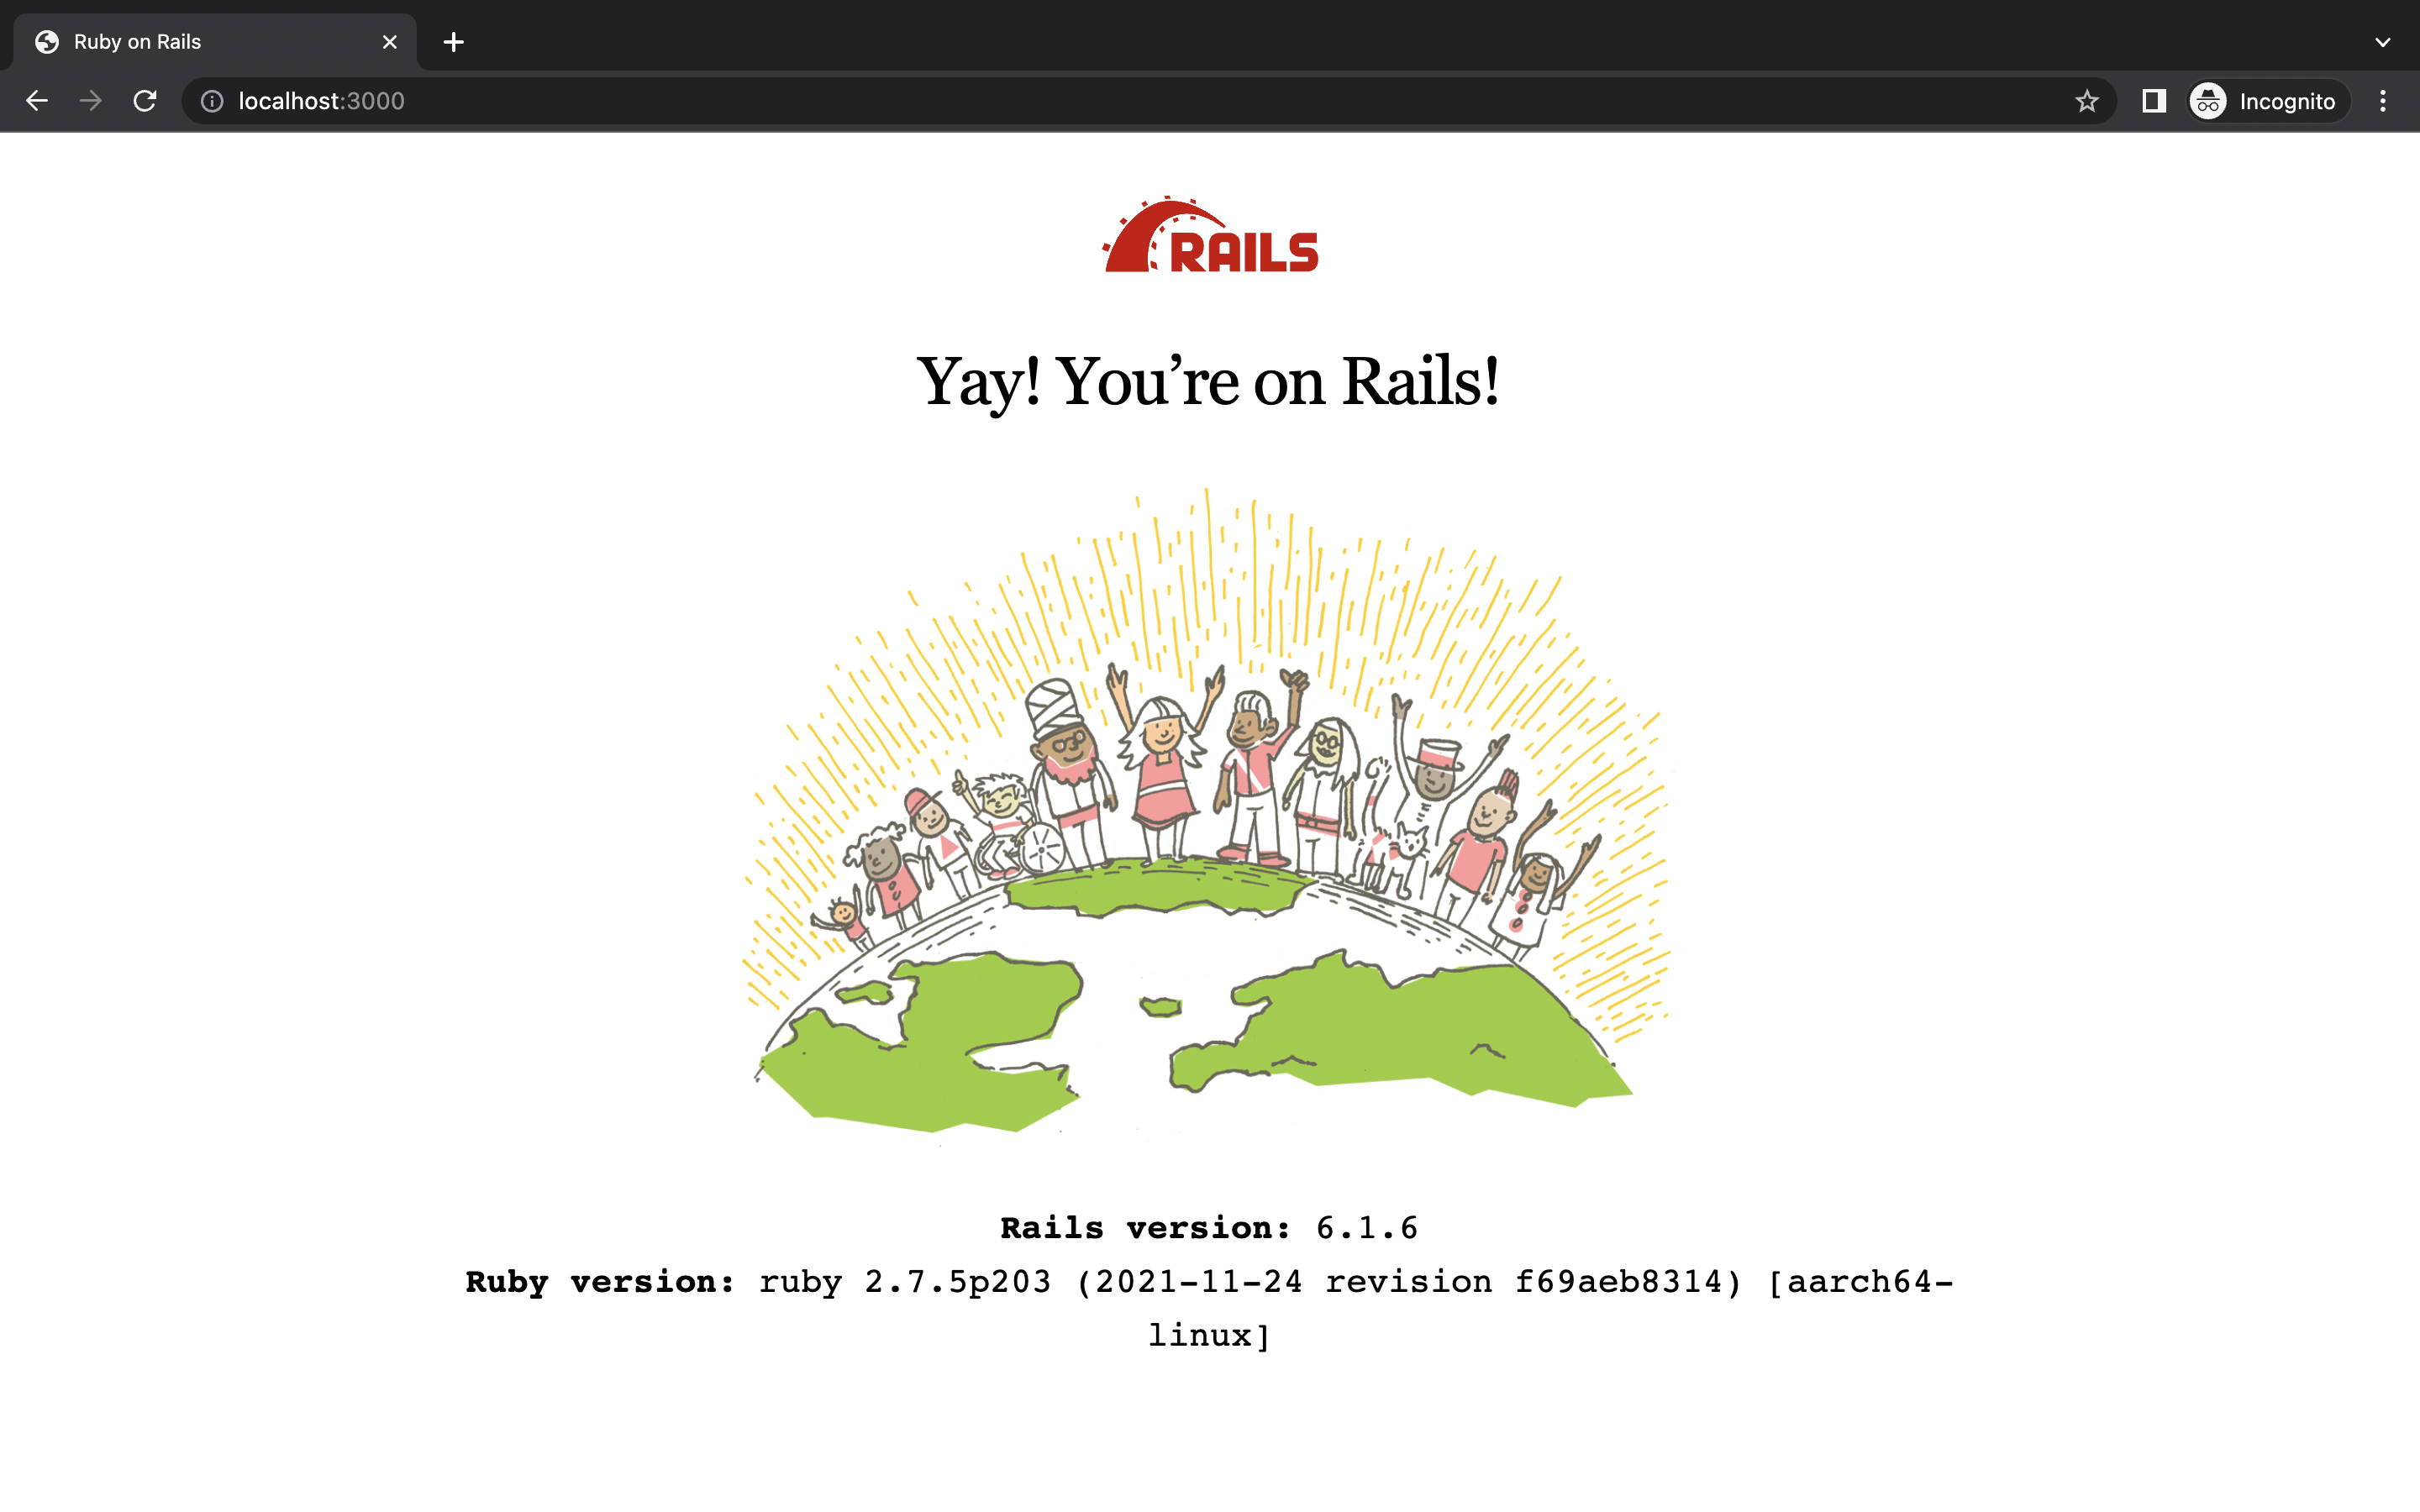
Go to localhost:3000 and you should now see Rails welcome page.

Now let’s understand what we did in the Dockerfile.
Understanding the Dockerfile
Lets say we need to setup our app on a brand new server. What steps must we take to setup our app ?
- Install ruby 2.7.5.
- Copy application’s code onto the server.
- Install gems.
- Run the Rails server.
That is exactly what we’ve done in our Dockerfile. Lets see it them step by step.
1. Installing ruby 2.7.5.
FROM ruby:2.7.5

...
Docker provides us many pre build images like ruby, java, postgres etc. which are hosted on DockerHub .
Specifying FROM ruby:2.7.5 tells Docker to use pre build ruby image with version 2.7.5. This image has ruby 2.7.5 and its necessary dependencies already installed on it.
2. Copy application’s code onto the server.
...

WORKDIR /app
COPY . .

...
The COPY . . command takes care of copying the directory we’re in(our Rails application) onto the container’s present directory.
But what is the present directory inside the container ? That’s what WORKDIR /app is for. It makes /app as the current directory for the container.
3. Install gems.
...

RUN bundle install --no-binstubs --jobs $(nproc) --retry 3

...
This one is pretty straightforward. We’re running bundle install inside the container.
4. Run the Rails server.
RUN rm -f tmp/pids/server.pid
EXPOSE 3000
CMD ["rails", "server", "-b", "0.0.0.0"]
Lastly we’re running Rails server using CMD ["rails", "server", "-b", "0.0.0.0"].
Before running the server RUN rm -f tmp/pids/server.pid deletes the server.pid file so Rails doesn’t assume that the server is already running.
And with EXPOSE 3000 we open our container’s port 3000 so Rails server running inside the container can listen on port 3000.